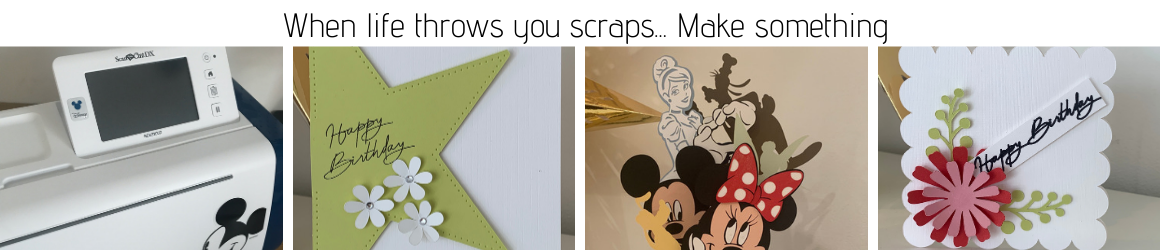
In the blog post below I mentioned how I had put a dashed/fold line in the Halloween card using the new features Brother have given us this week for SNC Canvas. I also took the dashed line a step further and used a pen and made the white cutout layer below with added pen lines.
This video shows how I did both. Hope it helps.

Love your videos, u make it sound so easy. I have a problem. I cannot cut the intricate, parts of a design, they ruck up for the want of a word, the outside cuts beautifully but as soon as I try and cut the small bits it all goes wrong. I have a new blade and have checked it under a microscope, any help would be appreciated. (have tried it on different weights of card). Thanks Joan
it may have too many nodes in those areas which are causing it not to cut properly. Was it an svg file originally or is it something you have made in canvas?
If you want me to look at it you can send it to me.
This is the first comment I have ever made on any blog . I have just bought a scan n cut with my birthday penny”s and I have found your posts about it very very helpful .So I would just like to thank you for all the very good information . Kind Regards Liz
Hi
Thank you glad they help. I bought mine as a birthday treat to myself. Love it.
Thank you very much for your videos, I don’t know how I would understand the machine without them. It is extremely kind of you to share your knowledge and as a more mature crafter I find them invaluable. Love Helen R
Hello can I ask a question I have the silhouette studio and purchased a few files but I do not have the cutting machine to match I have the Scan and cut which I love so is it possible to convert the format of the files purchased from silhouette to use with scan and cut ,hope this makes sense .u have helped me in the past have learned such a lot from you but didn’t know how to contact you other than on here , so apologise if this is not the right place to ask this question .
Hi
You can print the design and then scan it, I did a video here
I will be posting another video though this week which shows another way, that will go live on Sunday, its just an alternative to printing and scanning.
Hope that helps.
Thank you I will try both out you are a life saver have taught me so very much .can I ask if you have had any problems with the cut lines on the right hand side of a scanned to direct cut image ,mine cuts out well but the right hand side is not as close as the left I have tried calorbrating ,any thing else I can do if not I just trim those a little but it’s a little annoying ,sorry I being a bit picky its a fab machine and I love it .
Hi no, no problems did you see the angel stamped images I cut recently they were done using direct cut and they have a perfect 1 mm even cut border all round.
Yes how did u achieve that ?
How did I achieve what?
Thank you I appreciate you taking the time to reply ,I have watched both videos and have learnt several new things so many many thanks .
Great
Sorry I know how to put border around maybe I should do that I wanted it to cut right to the edge tho wondered if you knew how I could achieve that as it does it perfectly on the left side . Is this a common thing or just my machine you think ?
Ok sorry well on direct cut you just leave border set to 0 and it should cut right around the edge, if its not and you have calibrated the screen then I would contact Brother as I don’t know what else to suggest, it will probably be something and nothing I am sure they will be able to help you. Hope you get it sorted out.